Google Slides: The 2025 Ultimate Guide
Here's how to use Google Slides to easily build presentations for your meetings and lectures with this complete guide.
Table of contents
If you are a hard user of presentations in meetings, lectures, or classes, you certainly need a slide software to produce them. Google Slides has become an option for many people in the past years. But why? Why are people migrating from PowerPoint to this Google alternative? You may be wondering if it has what it takes to replace the Microsoft Office option, and we can surely say that it has. After reading this complete guide, you are going to discover the whole new world that Google Slides offers. Let’s look into its benefits, how to use it the best way possible, and some tips and tricks you may find useful.
What is Google Slides, and why to use it?
Google Slides is a web-based free program to build presentations, the same way as the other software included in G Suite, such as Google Docs and Google Sheets. In other words, you develop your presentations inside your web browser, and you don’t need to install it on your computer. Like any other G Suite app, Google Slides has features that encompass aspects such as collaboration, online editing, auto-save, and personalization. Let’s check the reasons why you should start using Google Slides soon enough.
Collaborate in real-time
Something you won’t find in regular slide builders is the possibility of working on presentations with other people at the same time. This feature is ideal for teams that need to work together on a presentation meeting, for example. Or even on those times that you need to edit slides for a lecture with two or more people involved. There are three collaborative elements that Google Sheets offer: Share, Comments, and Edit.
Share
How many times did you have to send presentations via email to your colleagues, so they could make the necessary alterations, and then return them to you? Or how many times did you have to send an email with the presentation to be displayed or carried in external storage devices? These pains end the moment you start using a web-based tool since you can share it easily with other people. With Google Slides, you can share your presentations with your team directly from the tool, and then they will be able to view or edit them online. To share a presentation, access the tab “File”, then click “Share”. The share pop-up will open, and you will be able to type all the email addresses of the people you want to share your presentation with. There’s another option which is to send a link to these people. Just click on “Get Shareable Link” at the top of the popup. Then you can send this link through other channels, such as social media. On this popup, you can configure the permissions for each one of the people you are sharing the file. The available options are view, comment, and edit. When you give permission “View” to someone, they will only be able to visualize the content of the presentation. Besides viewing, a person also can comment on the presentation, when you choose the permission “Comment”. And Edit gives total access to people you are sharing it with. 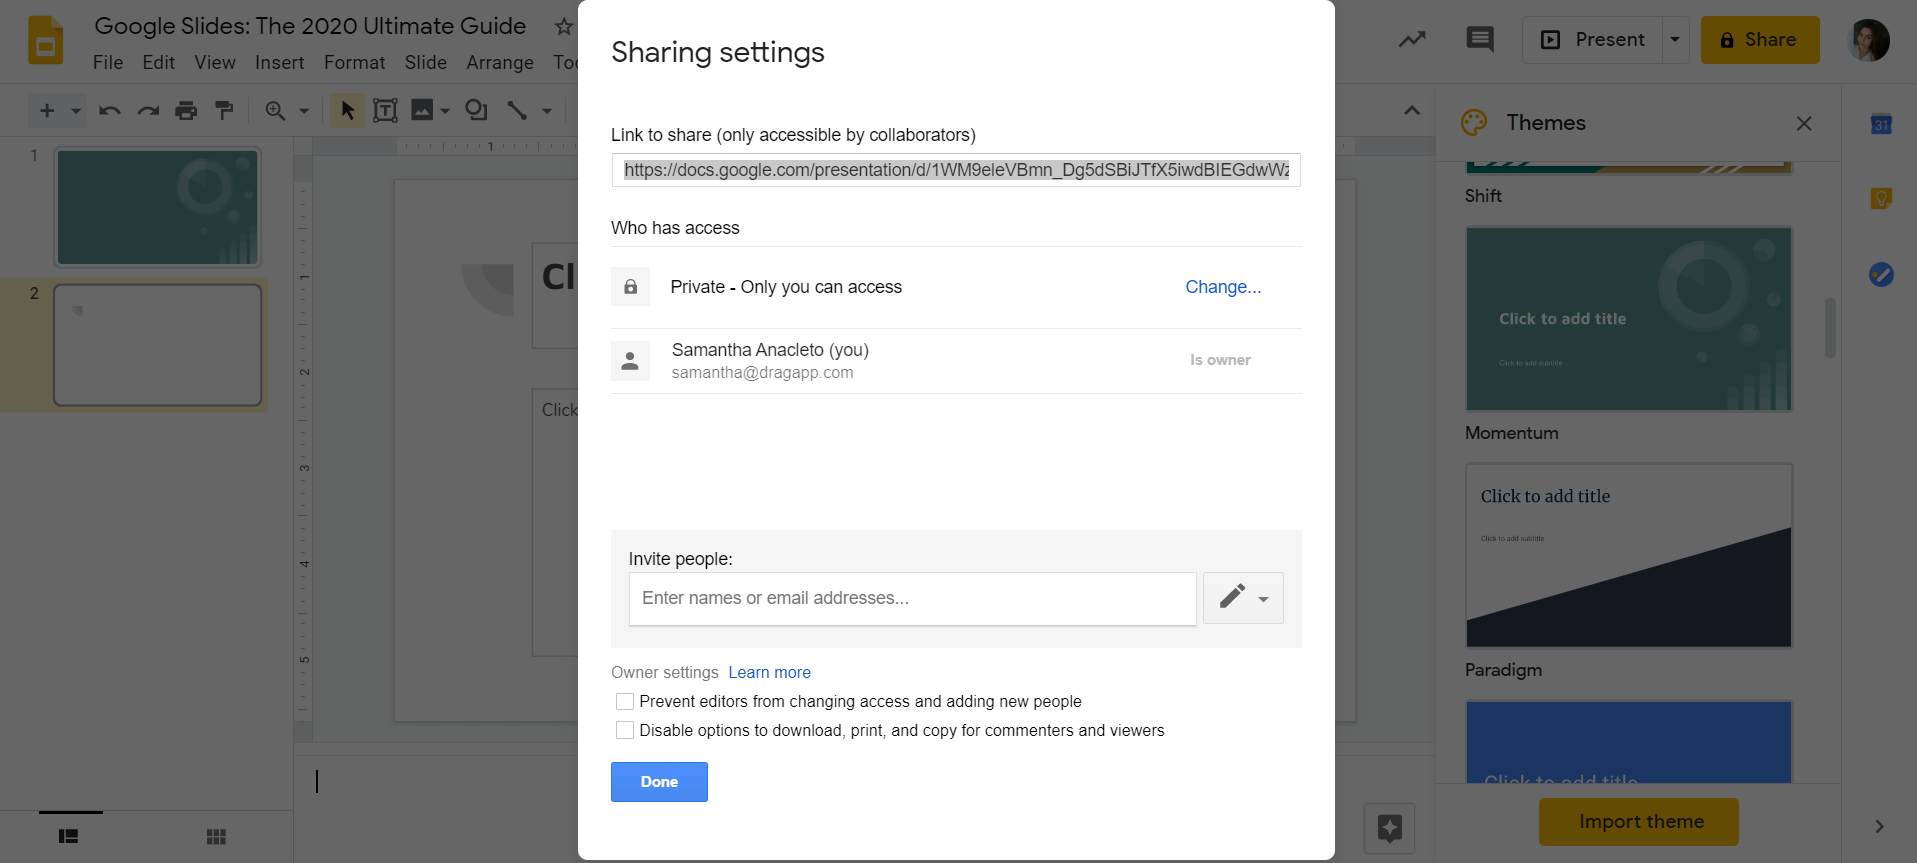 You can set some more obstacles, so your presentations don’t fall into the wrong hands. And to do that, on the share popup, click on “Advanced”. Choose the option “Prevent editors from changing access”. This step will prevent the people who already have access to the presentation to share it with people outside your organization.
Comments
When you produce content together with your team, a feature like this one can be handy. Sometimes you need to add notes or comment suggestions, highlighting specific parts of a slide, and this is where the comment feature comes in. To add a comment, you can select any part of a slide you wish. Then click with the right button of your mouse over it. Choose the option “Comment”. Another way to do that is by merely pressing the keyboard shortcut Ctrl+Alt+M. All comments are shown in boxes on the right of your screen, with the photo and name of who has commented. These boxes work as an interactive way of solving the situation mentioned in the comment. You can either reply or mention somebody who needs to see it and do something about it. If you choose to refer a person, just press the “+” button on your keyboard and type in your teammate’s email address. After solving what was requested, you can simply click on “Resolve”, and the comment will disappear.
** **Edit
We have talked about one of the problems regular slide programs may offer. One of them is when you need to share it with other people, usually by sending them through email. But Google Slides offers an edition in real-time, which is a significant solution for this problem. You can save a lot of time since Google Slides allows up to 50 people to edit a presentation at the same time. Therefore a larger team can undoubtedly benefit from it. You may think that this can be confusing and a real mess if so many people are using it at once. That’s why there are some complimentary tools you can use to avoid problems: the live chat and the comments. This way, everyone will know what needs to be done in the presentation.
Work both online and offline
The thing about a cloud-based app is that you eliminate things that can be a real pain in the business world. First, when you edit something exclusively online, you don’t have to use any space from your computer storage. You also reduce time and steps while collaborating inside it, and gain mobility with your files. Since you don’t need to install software on your computer, you are not using precious GB’s from your Hard Drive. The dozens of presentations you build could also occupy some space in your laptop, but this is now optional when you choose a web-based app like Google Slides. Moreover, you can edit your presentations with teammates in real-time, to make your job easier and more integrated. And at last, you gain mobility to access your spreadsheets from anywhere you go, on any device, even the ones that are not yours. The only thing you need to do is log in to your Google Account and go to Google Slide’s website to choose the file you desire. At the same time, you can also work on your presentations even on those moments when the internet crashes. Just install this Chrome extension, to be able to edit any Google document offline. After installing it, go to the tab “File” located at the top menu bar, then click on “Make available offline”. Another alternative is downloading the file to edit it on other slides software, such as PowerPoint or Libre Office Impress, or Keynote.
No need to save files
If you are always hitting the save button to prevent file losses, the good news is that Google Slides has an auto-save function. So every time you make any alteration in your presentation, Slides immediately saves it. It’s a second-by-second saving feature. This aspect is common to all the G Suite apps.
Personalize your Google Slides
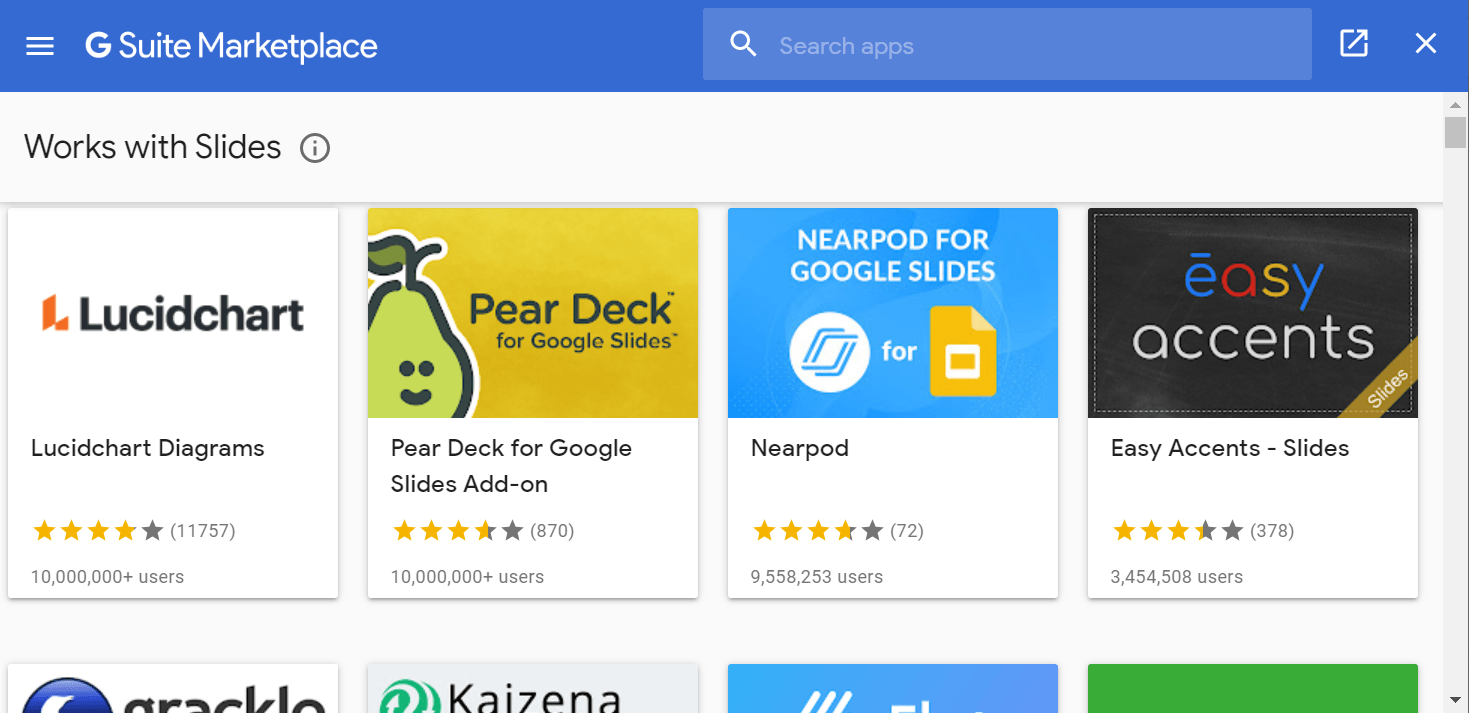 There are many ways of building a presentation. Each person has his way of giving visual style or uses specific elements to make their slides exactly how they want. That’s the main reason why Google Slides allows you to personalize your experience in the app, using Add-ons. If you want to see the available Add-ons, click on the tab that has the same name, located at the top menu bar. The G Suite Marketplace popup will open, with all the features add-ons and a search bar. Choose those that will turn your presentations more dynamic, and that will fit the purposes you need to fulfill.
A thorough Google Slides tutorial
Now that you know all the benefits of choosing Google Slides, it’s time to learn how to build a presentation from scratch.
1 - Creating or importing a presentation
 To create a new presentation in Google Slides, go to your Google Drive, click “new”, and select “Google Slides”. Then click on “Untitled presentation” at the top of the app to insert the title of your presentation. But if you want to import an existing presentation from other software to Google Slides, access the tab “File”, click “Open” and choose the file.
2 - Adding content to your presentation
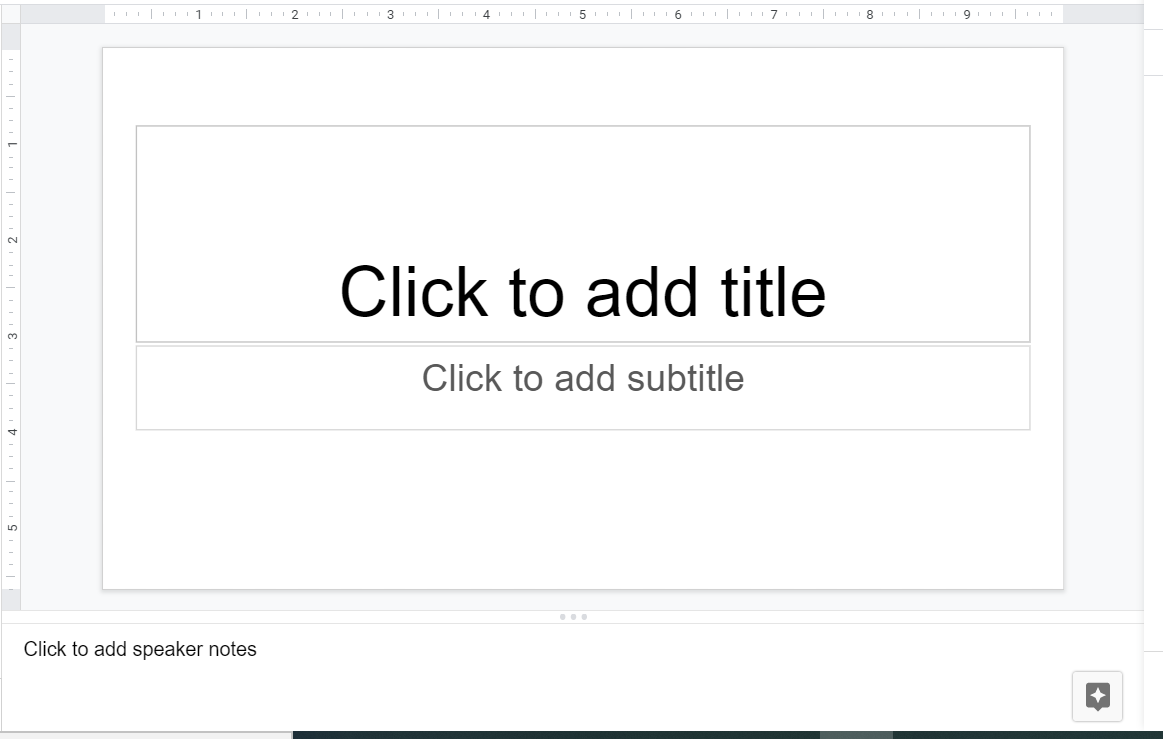
When you want to add content on a slide, just click on it. The first slide usually is pre-formatted with a title and a subtitle box, where you can put the name of your presentation. Sometimes the other slides won’t be displayed when you create a new presentation, so just click the right button on the first one, and choose “New Slide”. Also, you can click the plus symbol on the toolbar, and select the style you want for the next slide. Usually, the new slide has a title box, and a larger input box right above. There you can add texts and media.
3 - Inserting media and other elements
When you need to add images, videos, and other items, click on the tab “Insert” on the menubar. You can choose from the following aspects:
- Image
- Video
- Audio
- Shape
- Text Box
- Table
- Chart
- Diagram
- Word Art
- Line
- Animation
- Special Characters
You can place these elements the way you want because they are all editable.
4 - Organizing slides
Remember that every time you need to insert a new slide to the presentation, you just need to click the “+” button which is the first one in the toolbar. You can simply move a slide, changing its position by dragging it. Just click and hold, drag, and drop where you want to place it. In case you need to move multiple slides at the same time, press the “Ctrl” button and select the slides you want to perform this action. Likewise, if you want to keep the same formatting, it’s usually recommended to duplicate the slides. To do that, click the right button on the slide and choose the “Duplicate slide” option. In case you need to delete a slide, click on it with the right button of your mouse and choose” Delete”.
5 - Picking a theme
 You’ve already added the content you needed, so it’s time to pick a theme and a layout. These elements help to make your presentation more visually appealing and impress what you want to transmit through it. Click on “Theme” located in the toolbar, and a miscellaneous of themes will appear on the right side of your screen. If you don’t want to use any of the Google Slides themes, you can import one that you enjoy. To do that, go to the bottom of the Theme pop-up and click on “Import Theme”. Use any of the themes from previous presentations you have had contact with. It can be from a presentation you just viewed, for example. Or you can also upload PowerPoint themes that you have saved.
6 - Adding speaker notes
 Don’t forget anything you need to say during your presentation. Add speaker notes at the bottom of your page to follow your script correctly.
7 - Presenting
After editing all the slides is time to present them. Click the “Present” button at the right corner of the screen. You can also press the “Ctrl” button and F5 at the same time. There is a useful feature inside Google Slides called “Pointer”. By using it, you can turn your mouse pointer into a laser one, while you present your slideshow. To do that, just click the “Pointer” button located at the bottom of the page.
8 - Download your presentation
After a presentation, many people decide to share it with their audience for future reference. That’s why you can download it in another format to send to other people, instead of just sharing the visualization on Google Slides. Usually, it’s ideal to choose a format that everybody will be able to open. To download as other formats, go to the tab “File” and choose “Download as”. You can download your presentation in any of the formats below:
- Microsoft PowerPoint (.pptx)
- ODP (.odp)
- Text File
- JPEG
- PNG
- Scalable Vector Graphics (.svg)
Google Slides tips and tricks
Sometimes you just need a good trick to make an impressive presentation, or to facilitate the process of building it. Here are some of the best tips and tricks that will help you master Google Slides properly.
Import slides from other presentations
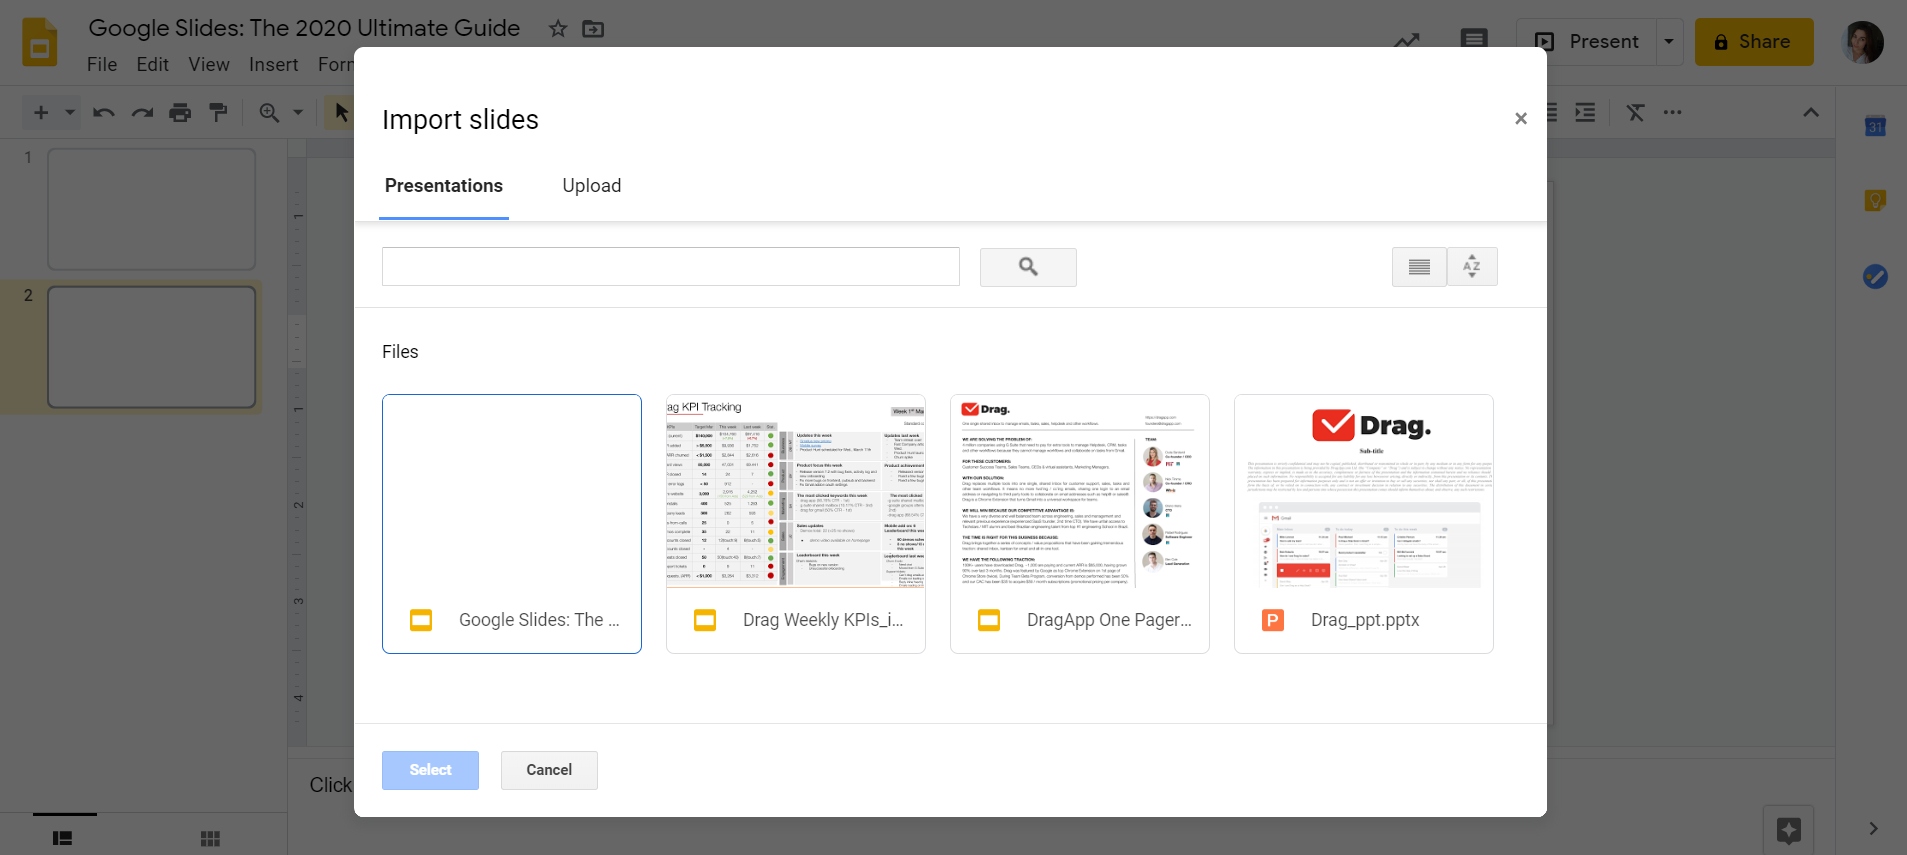 This feature is useful for when you need to put some information in the current presentation you are editing, which is on other past presentations. Notice that you need to have at least two presentations in your Google Slides gallery: a previous one and the one you are editing right now. To import slides from other existing presentations, follow these steps: 1 - At the presentation that you are editing at the moment, click on the tab “File”, then choose the option “Import slides.” 2 - Then, a popup will open with all the available presentations you have. Select the presentation that contains the slides you wish to import. 3 - Select each one of the slides you want to import, then click on “Import slides”. Keep in mind that you may choose if you want to keep the theme these slides have on the original presentation. To do that, you just need to mark the “Keep original theme” checkbox that is located above the “Import slides” button.
Save your time with Master Slides
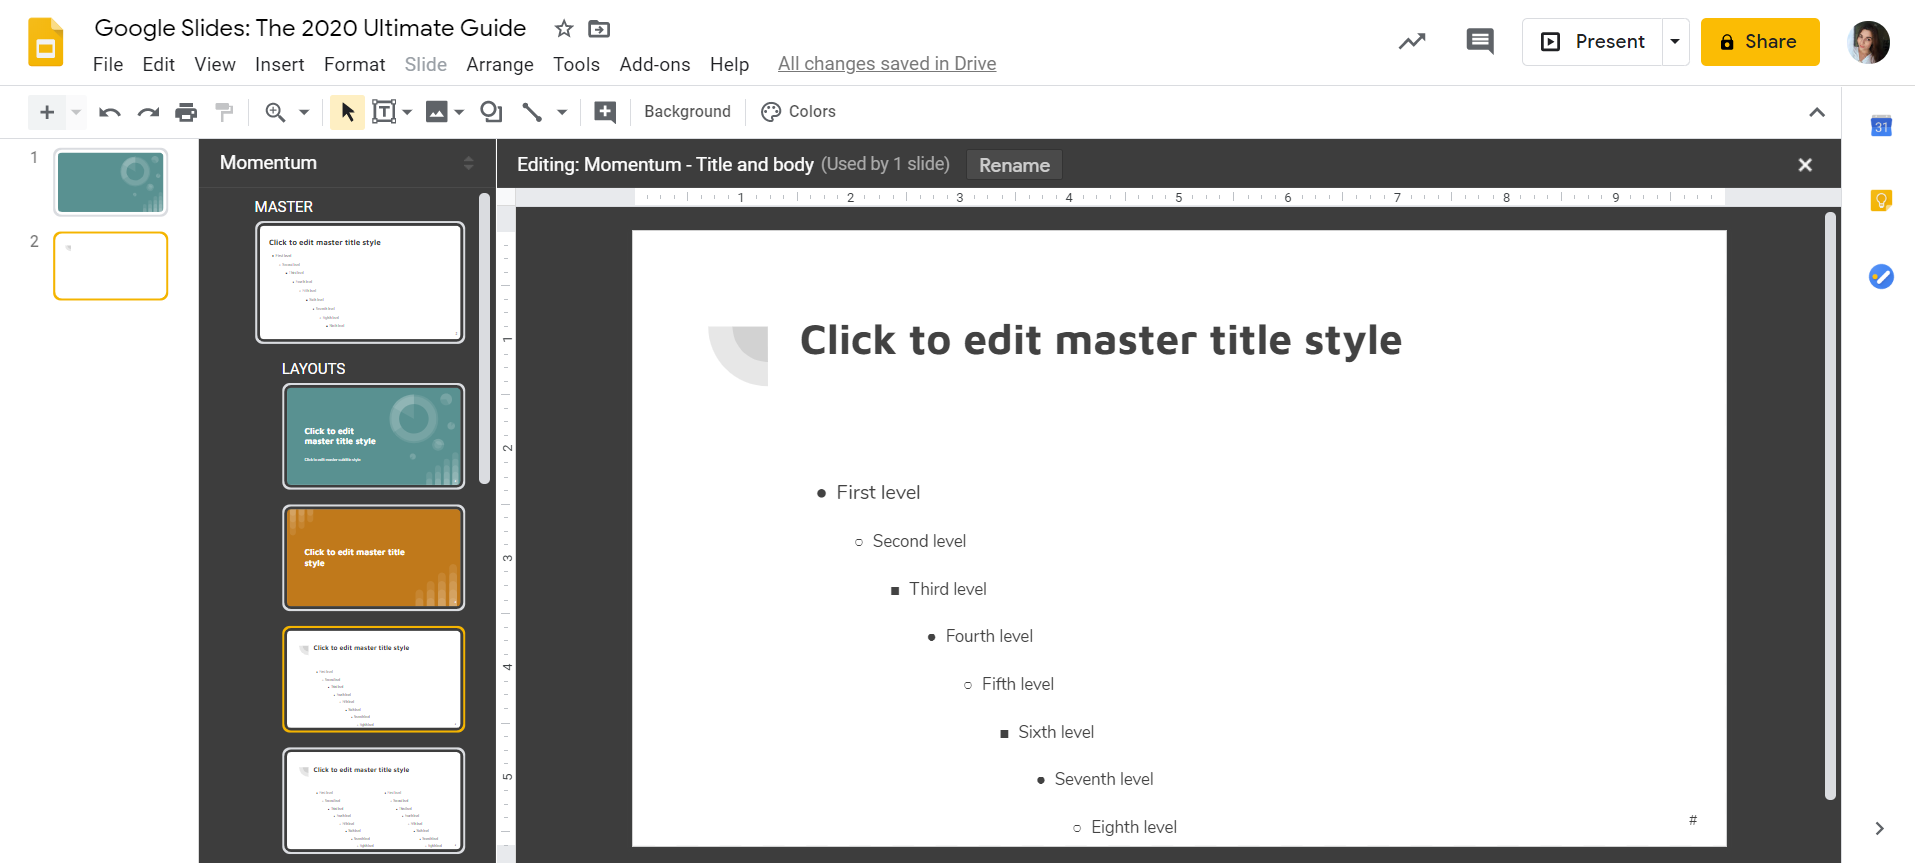
If you don’t have much time, you need to optimize the editing of your slides. With the Master Slides tool, you don’t need to visit and edit each one of your slides but edit a range of them. You can use this tool also for changing the entire presentation design, such as the background, for example, or theme. To access this tool, go to the tab “View” and choose the option “Master”.
How to add music to your Google Slides
Some presentations require audio and music, which are elements that can attract more attention from the public. Let’s learn how to add music to your slides. There is an option to insert audio in Google Slides, but only to add audio you already have in your Google Drive, or that someone has shared with you. However, we can help you in another way:
-
Firstly, go to YouTube, Spotify, or any streaming service for audio, and copy the link from the song or audio you want to insert in your slide.
-
Paste the link in your slide.
-
The audio or song will automatically play when you click on the link during a presentation. If you feel the need to hide this link, you can use an image to match your design and theme.
- First things first, go to the toolbar and click on the picture symbol to insert an image.
- Then search for an image on your computer, on the internet, Google Drive, Google Photos, or use your URL or computer camera.
- Resize the image and move it where you desire.
- Select the image, then click on the “insert link” icon located at the toolbar. Paste the audio URL in the box and click Apply.
To play the audio, just click on the image during the presentation.
Manage previous versions of your presentations
 Even being an online tool, Google Slides has a resource to keep the previous versions of your presentations. It means every alteration on it is recorded, and you can restore them whenever you want. This feature is useful when multiple people are editing the same file. If someone makes a mistake, the simple solution is to go to the Version History and restore a previous version before it was done. To access this tab, go to the page’s top and click on “All changes saved in Drive”. You will find a complete activity log with the user names, times, and dates of modification. Click on each date to see the version you had at that time. Notice that the parts of the presentation that were changed will be highlighted. In case you want to restore a version, just click on it and hit the button “Restore this version”.
Useful Keyboard Shortcuts
Keyboard shortcuts help to facilitate your processes on the internet. And you can also count on this feature on Google Slides. Therefore, by using these shortcuts, you save time and can focus on what is more important: the content on your slides. So here is a list of the main ones, that can be useful to you:Useful Keyboard ShortcutsShow the most used keyboard shortcutsCtrl + /Add new slideCtrl + mDuplicate slideCtrl + dFindCtrl + fGo to previous slidePage Up or Up arrowGo to the next slidePage Down or Down arrowMove focus to the first slideHomeMove focus to the last slideEndGo to specific slide (5 followed by Enter goes to the 5th slide)Number followed by EnterZoom inCtrl + Alt +and +Zoom outCtrl + Alt and -Open speaker notes panelCtrl Alt + Shift + sPlay the selected videoEnterPresent slideshowCtrl + F5Exit the exhibition modeEscInsert commentCtrl + Alt + m
Try Drag free. Shared inbox + AI inside Gmail
200,000+ teams use Drag to manage shared emails. 7-day trial, no credit card.
Wrapping up
In conclusion, there is nothing better than having a free tool to build your presentations, that fits all the purposes you need. That’s why Google Slides ends up being an excellent choice for people who are part of a team, because it promotes the collaboration you need, helping you to improve processes of sharing. Above all, our wish is that you find this guide useful to improve your experience building new presentations from now on.
Switching browser tabs and tools all day is killing your work
It's not just the time spent switching between tabs, whenever you interrupt something your brain keeps giving attention to the interrupted activity. this adds up throughout the day. To help you assess the time you lose on the platform overload we've made a calculator.
Nick Timms
Co-founder